- Note: For enemies resembling Death, see Reapers.
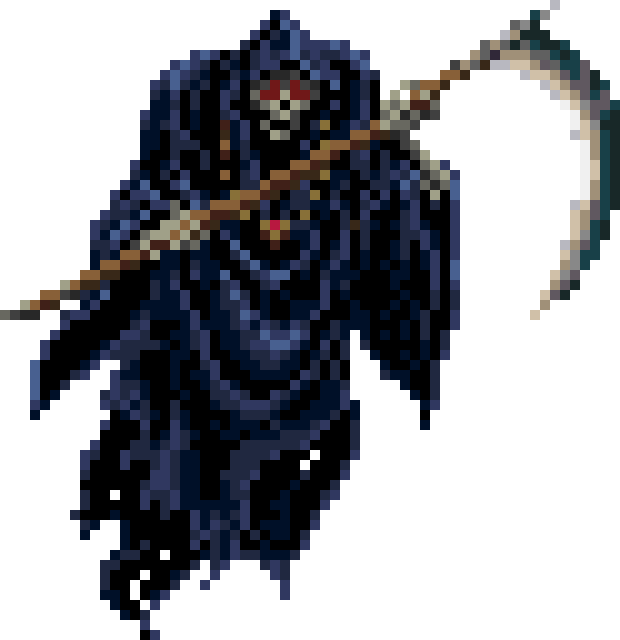
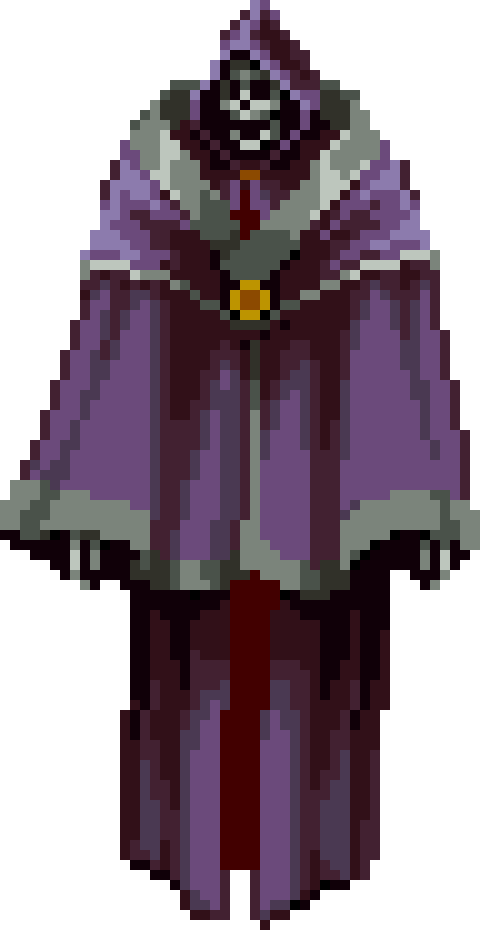
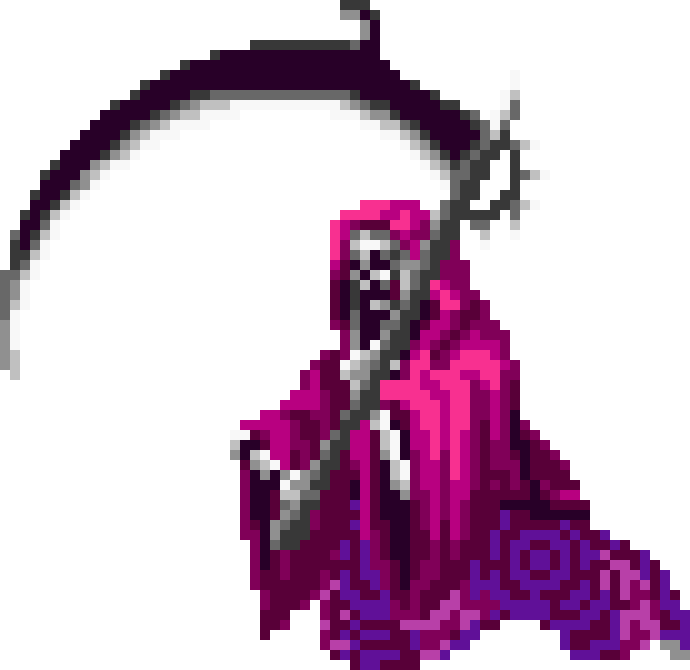
Death appears dressed in a large cloak and wielding his scythe. He fights Simon only by flying around the screen and summoning little scythes, an attack he will use in later games. A strategy is known to beat him very quickly: Simon must have the Holy Water equipped and as soon as Death appears, the player must jump and throw the Holy Water on the rightmost platform, where he appears, to stun him. Should the player keep throwing Holy Water and whip him, Death will die in a matter of seconds.
Death appears in Brahm's Mansion. He appears as usual, dressed in his cloak, also armed with his trusty scythe. He will continue to come toward the player, firing his sickles and trying to hit Simon with his scythe. Attacking him with regular whip attacks and using the Sacred Flame are the keys to win the battle. After a few hits, he will drop the Gold Dagger. Alternatively, like several other bosses in the game, if a Garlic clove is thrown on the ground and he touches it, he will continue to be damaged and stunned repeatedly, unable to attack for a lengthy period until he dies. The player also has the option of walking past Death to the next room without fighting him.
Death waits at the end of the elaborate halls near the end of the castle. He begins the battle by attacking the player much like he did in the original Castlevania. His familiar hooded form will appear near the top of the screen and quickly descend as wickedly sharp sickles almost continuously materialize and hone in on the player. Using Trevor in this battle is the best option, as Grant, Sypha, and Alucard lack the ability to use the Holy Water or the Boomerang. Spamming Sypha's Lightning Bolt spell will also inflict huge damage to Death. The player should remember that things can still quickly go sour as it will only take Death, at most, 4 hits, to completely deplete the player's life meter.
|
| Name
|
JPN
|
Alt. Name
|
| Death
|
|
-
|
|
|
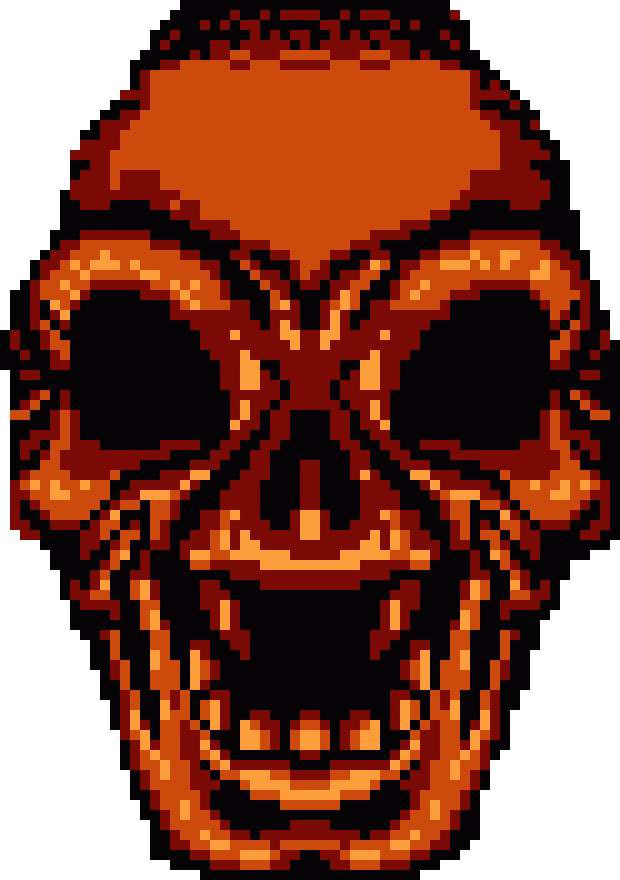
When his life bar is depleted, Death will lift his scythe and transform himself into a his second form: a huge, floating skull. He will fly about the room, occasionally stopping to laugh and shoot a single sickle from his mouth at the player's character. The giant skull will move swiftly, and if the battle lasts too long chances are that the player will be crowded into a corner and take obscene damage. This form, while much scarier, is actually easier to conquer. Once again, bombarding the Grim One with Holy Water or with the Thunder Spell is the easiest path to victory. If the player depleted his heart meter, then it is best to kneel and whip repeatedly when the skull is near the floor.

|
| Name
|
JPN
|
Alt. Name
|
| Death
|
|
Death (Second Form)
|
|
|
Death appears as the last boss before Dracula himself. He flies around the room, attacking Simon by summoning sickles. Occasionally, he will either dive with a fast scythe strike or float down to the ground. Upon landing, he will attempt to suck Simon toward him and throw his scythe as a giant boomerang. It is also the first time Death appears along (or more precisely just after) Slogra and Gaibon, his two servants.
|
|
| Name
|
JPN
|
HP
|
EXP
|
ATK
|
| Death
|
死神
|
-
|
-
|
-
|
|
|
Death will, like always, float around the screen, and summon sickles. He will also throw his big scythe which works like a boomerang or swing it. His last attack is summoning a black hole in the center of the screen which sucks Simon in while throwing homing skulls.
Death has two forms. He also appears in his usual tattered and torn cloak in his first form in this boss fight! Keep jumping around avoiding Death's many sickles. Do this while constantly barraging him with Crosses/Dragons, hopefully they will also take out some of the sickles. If things get hairy, as Richter use the Cross Item Crush for temporary invincibility, the destruction of all sickles on-screen and to take some damage out of Death.
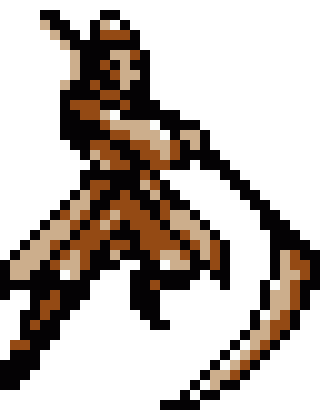
Once you get him roughly down to ⅔ of his life bar, he will head to the background and will launch many skulls at you. Just keep moving to avoid them, if you get hit he'll launch some more at you. Death will then remove his cloak, revealing his more classic form. In this form he will slice at you with his scythe, and use a devastating spinning scythe attack. He's very agile, almost ninja-like. As Richter, don't use Crosses on him in this form, he'll just counter-attack it by blocking it with a shield and splitting the cross into four homing green orbs (however, he does not do this against Maria's dragon.). His scythe also deflects some sub-weapons, like daggers. Some small sickles will still fly around, but there are a lot less than his first form and much less of a threat. To kill him without being harmed, rush in and hit him a couple of times and then retreat, then wait for him to attack and then after he has finished rush in and hit him a couple of times and then retreat, rinse and repeat. Collect the Magical Sphere and you will proceed to Stage 6 - Inside the Castle.
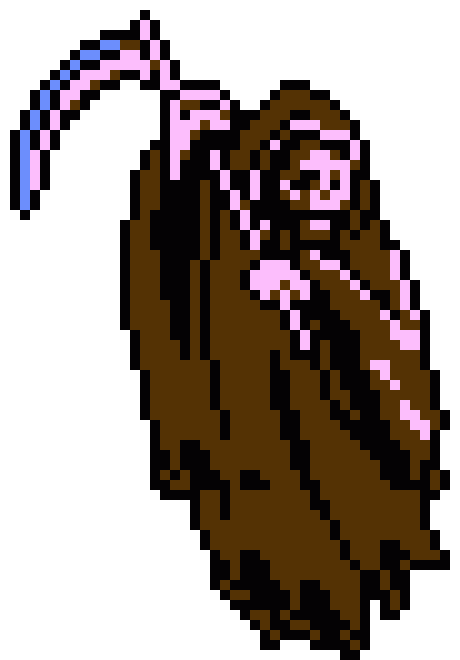
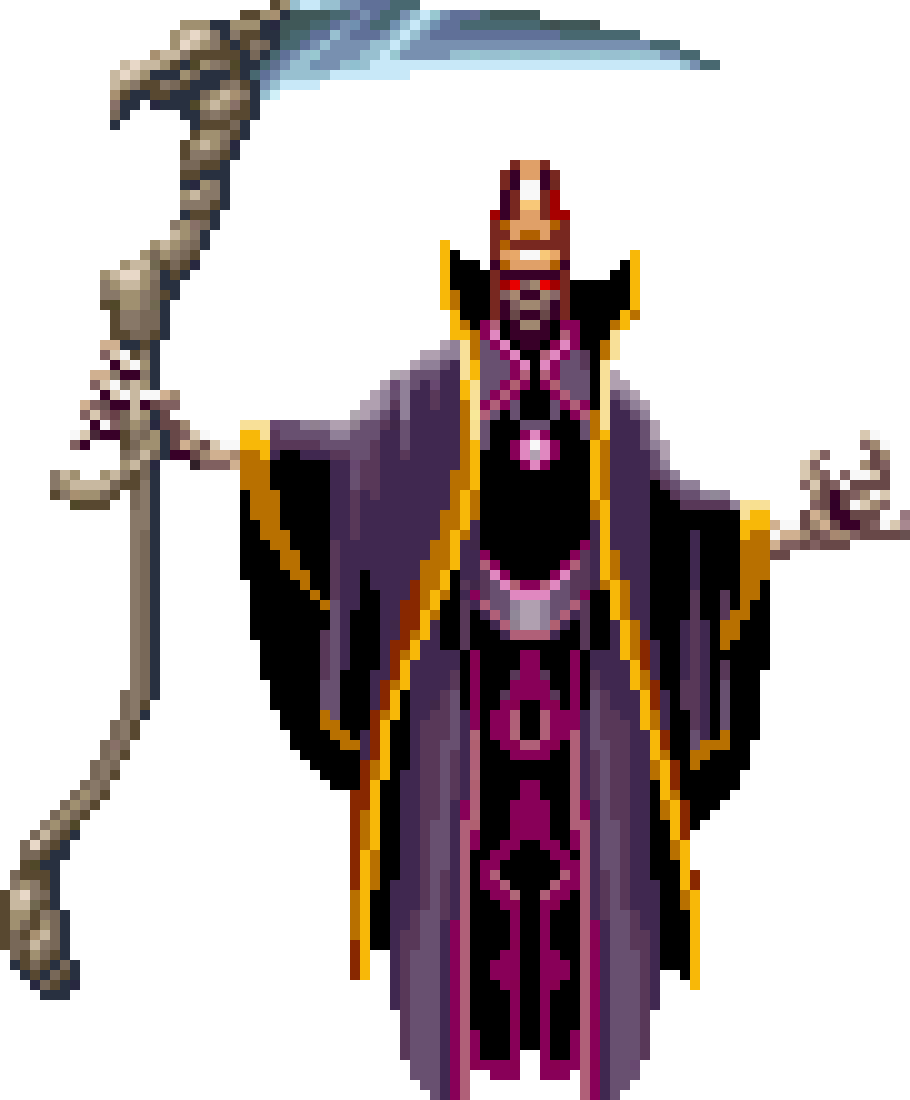
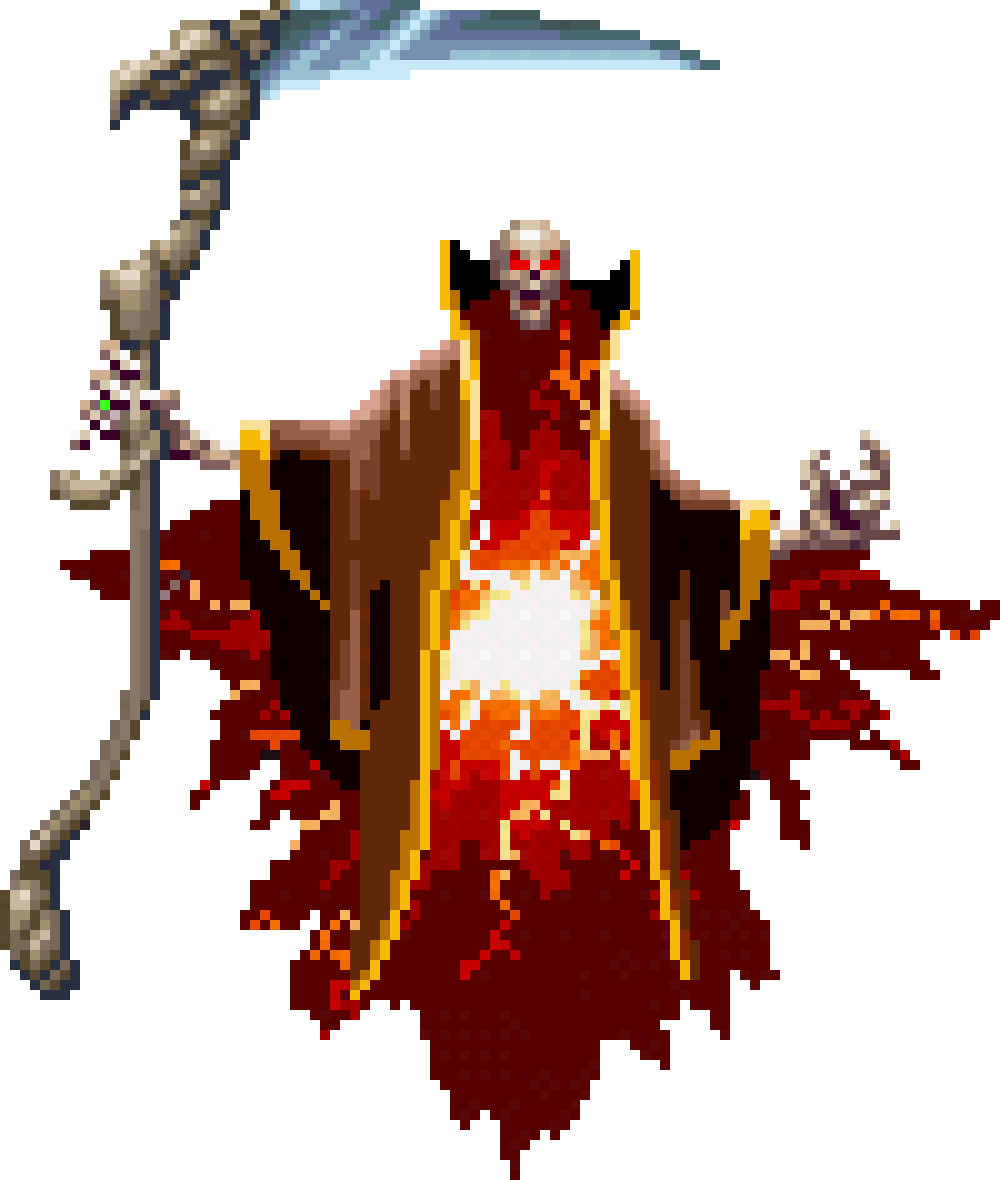
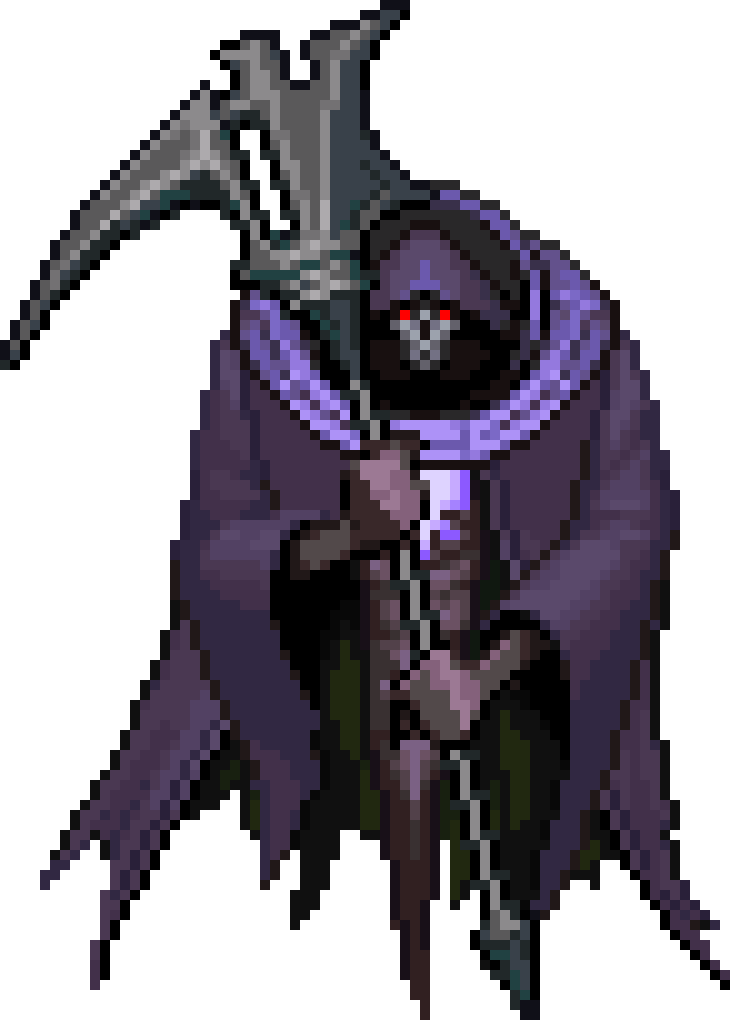
Depending on the difficulty selected, the boss battle with Death can be subtly different. Once again, he appears wearing his cloak, wielding his trademark scythe. There are two phases to this fight which John Morris and Eric Lecarde have to counter to bring Death back to the Land of the Dead. This is the only notable time where Death wears an orange cloak (instead of a purple or green one).
In the first phase, he doesn't attack the player directly, but instead summons 6 floating tarot cards. Three contain reborn bosses (the Golem from the Atlantis Shrine, the Gargoyle from the Leaning Tower of Pisa, and the Gear Steamer from the Munitions Factory, all exactly the same as they were in their original battles with John/Eric), which will teleport the player to the battlefields of the respective bosses when struck, two are attack cards which will cause Death to shoot a projectile at John/Eric when struck, and the last one will produce roomful of health restoring meat (though it's replaced by a third attack card on Expert Mode), replenishing the heroes if they need some extra strength before tackling another boss card, or Death himself.
After all of the cards are used up, Death will commence his second phase, attempting to take care of John/Eric personally. He attacks in a set pattern, making him more predictable and easier to hit than most of his other incarnations. He tries shooting two explosive scythes at John/Eric, then swoops across the screen, sweeping the floor with his scythe, an attack that must be jumped over. Death will repeat his first attack, then lower to the ground and use his attack from Super Castlevania IV where he throws his scythe like a boomerang while sucking John/Eric towards him. The scythe must be jumped over with good timing. Finally, he'll fly up to either side of the room and summon four explosive scythes to home in on the John/Eric. If he's facing right during this attack, go right when he fires the scythes, and vice versa. From here, he just repeats his attacks until he is given the final whip/spear to the face and sent back from where he came, granting John/Eric access to Elizabeth Bartley's chamber.
Death in Dracula X behaves pretty much like his Rondo of Blood counterpart. The main difference resides in the room's layout. While in Rondo the fight took place on a ship's mast, and had two elevated platforms to reach Death easier, in Dracula X the battle takes place at the top of the Clock Tower, which provides a much more reduced space to maneuver. Also, there are no platforms to step on, forcing Richter to battle on ground level. Another difference is that after Death has sustained enough damage, he won't go into the background to shoot giant skulls as he did in Rondo, and the animation where he summons his scythe and changes his appearance is absent in this version, he'll just exit at the top of the screen and immediately return already in his second form.
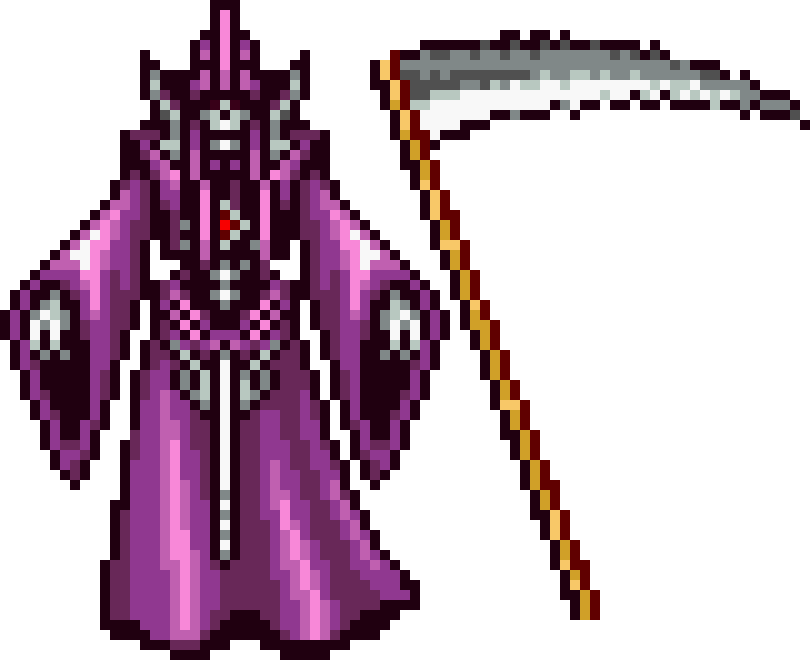
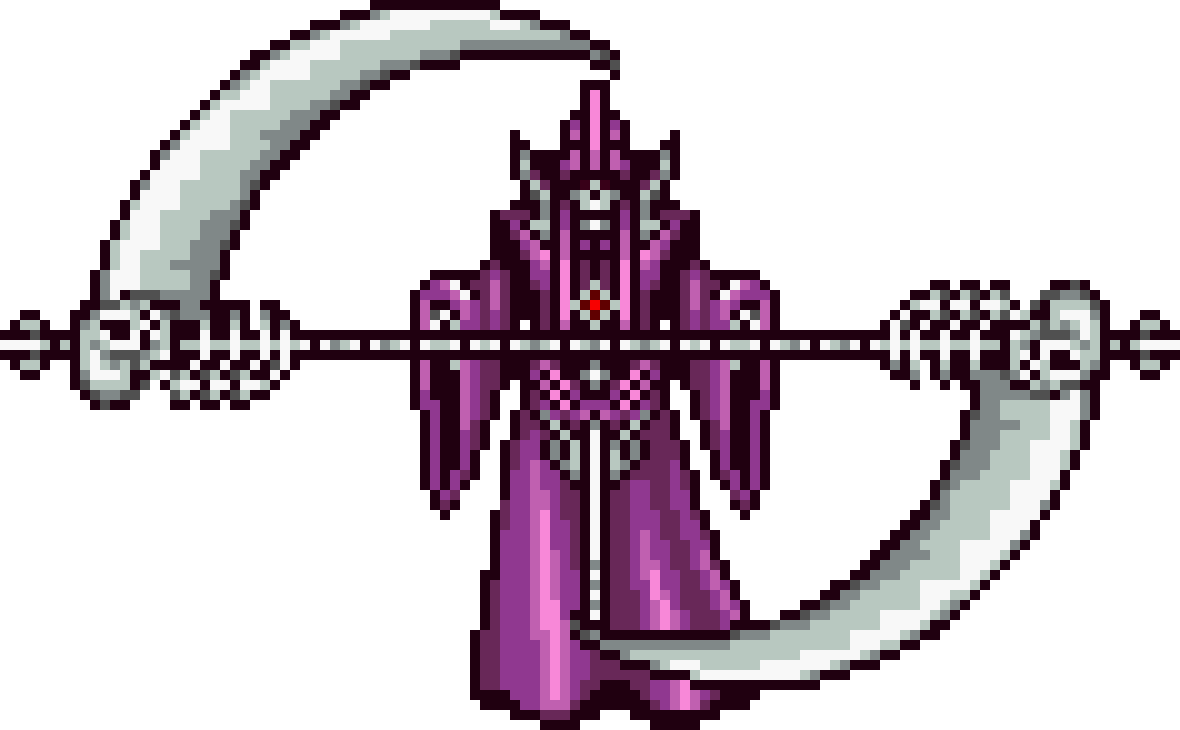
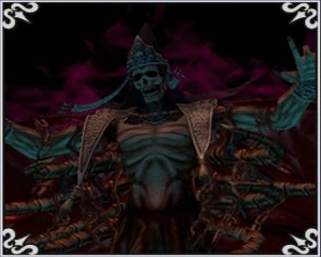
Death first appears at the beginning of the game, asking Alucard to stop the attack to the castle. As Alucard refuses, he removes his equipment and leaves. Alucard meets him again in the Cave, where he asks again for him to stop the attack. Refusing again, Death says he has no choice then but to kill him, and they engage in battle. Death has two forms:
- In his first form, he conjures homing small scythes (55 ATK, Cut), homing balls of energy, two large rotating skulls, and two large scythes (80 ATK, Cut).
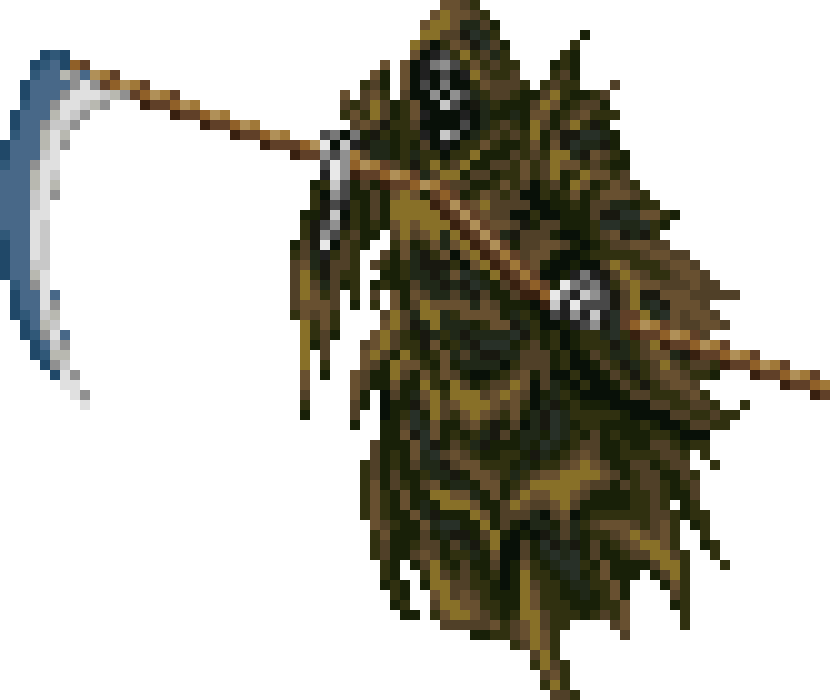
- His second form is a flying monster with some areas protected with bone armor. He uses two scythes (75 ATK, Cut) and switches to a more melee-based method of attack.
After his defeat, he leaves the Eye of Vlad.
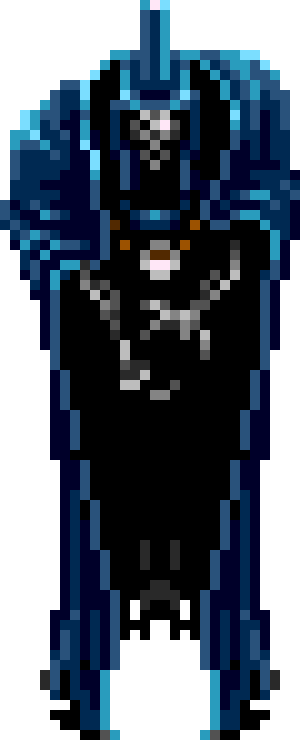
According to the game's official artwork, he has a small companion (or familiar) which resembles himself. Also, he is portrayed as having a torso infested with maggots under his habit.
|
|
| No.
|
Name
|
JPN
|
Level
|
HP
|
| 144
|
Death
|
デス
|
-
|
888
|
| Strong
|
Immune
|
Weak
|
Absorb
|
EXP
|
| -
|
-
|
Light
|
Dark
|
4,444
|
|
| Description
|
"Dracula's close friend."
|
|
Death once again appears in his usual cloak, and also armed with his big and nasty scythe! Once the player enters his domain, the ropes will pull themselves up, and the floor closes. The player should try not to be hit by the big scythe or the small sickles that home in on Sonia afterwards. Using the Ice Soul and whipping away are a good strategy. As a reward for beating Death, Sonia gets the Fire Soul.
Description: This apparition received great power of magic in return for being bound to Count Dracula in an eternal master-servant blood contract. The Grim Reaper also brandishes a very sharp sickle.
This incarnation of Death was the first to have "wings". He plays almost identical in both games, and is exclusive to Reinhardt's quest.
|
|
| Name
|
JPN
|
HP
|
| Death
|
死神
|
190 (160 on Easy, 230 on Hard)
|
|
|
When Nathan encounters him, he'll send small sickles that move towards Nathan's direction. Death also can release three expandable spear-looking weapons and release two green energy balls on both sides. Strangely enough, although he uses scythe attacks, this incarnation of Death is not shown to be holding the Scythe, as he does in all his other incarnations. When the player defeats him, he'll turn into his second form.
In his second form, he'll transform into a horrible beast while still sending out small sickles. He'll walk slowly towards Nathan, then attack him when in close range. He also can protect himself by forming a shield in front of him or slowing down Nathan's move speed and jump. When the player defeats him, Nathan will gain the Cleansing ability, which is needed in the Underground Waterway.
|
|
| Name
|
JPN
|
HP
|
EXP
|
| Death
|
デス
|
1,760 (880 x2)
|
60,000
|
| Common Drop
|
Rare Drop
|
| -
|
-
|
|
|
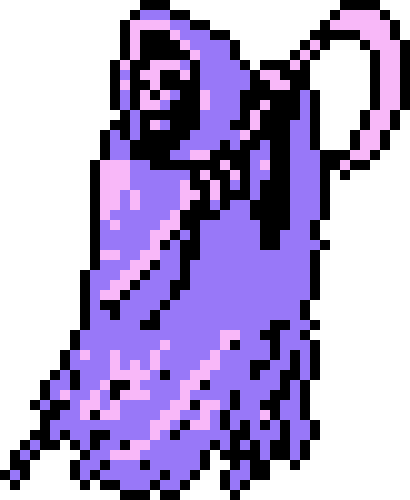
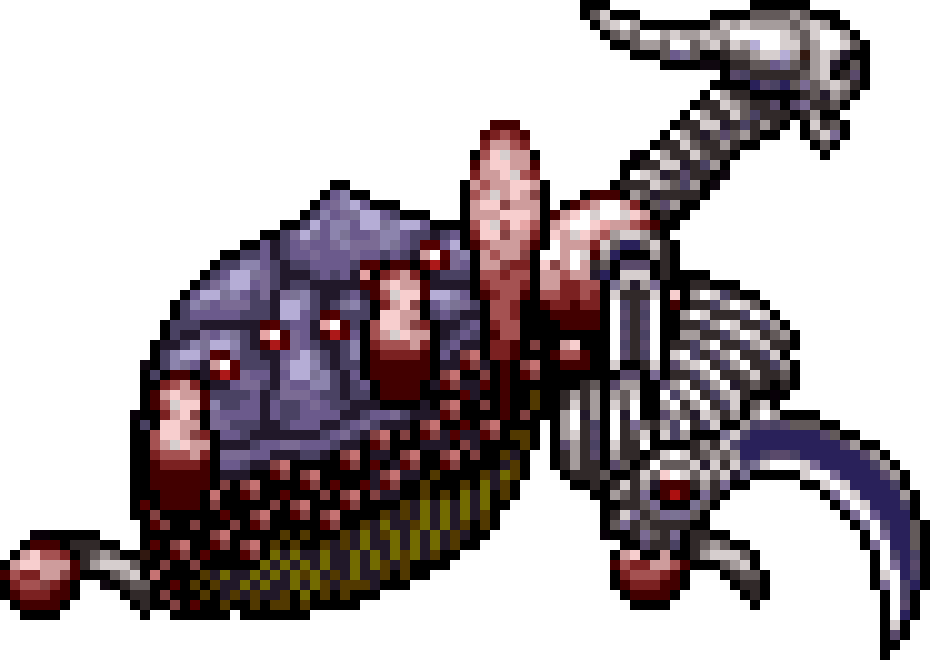
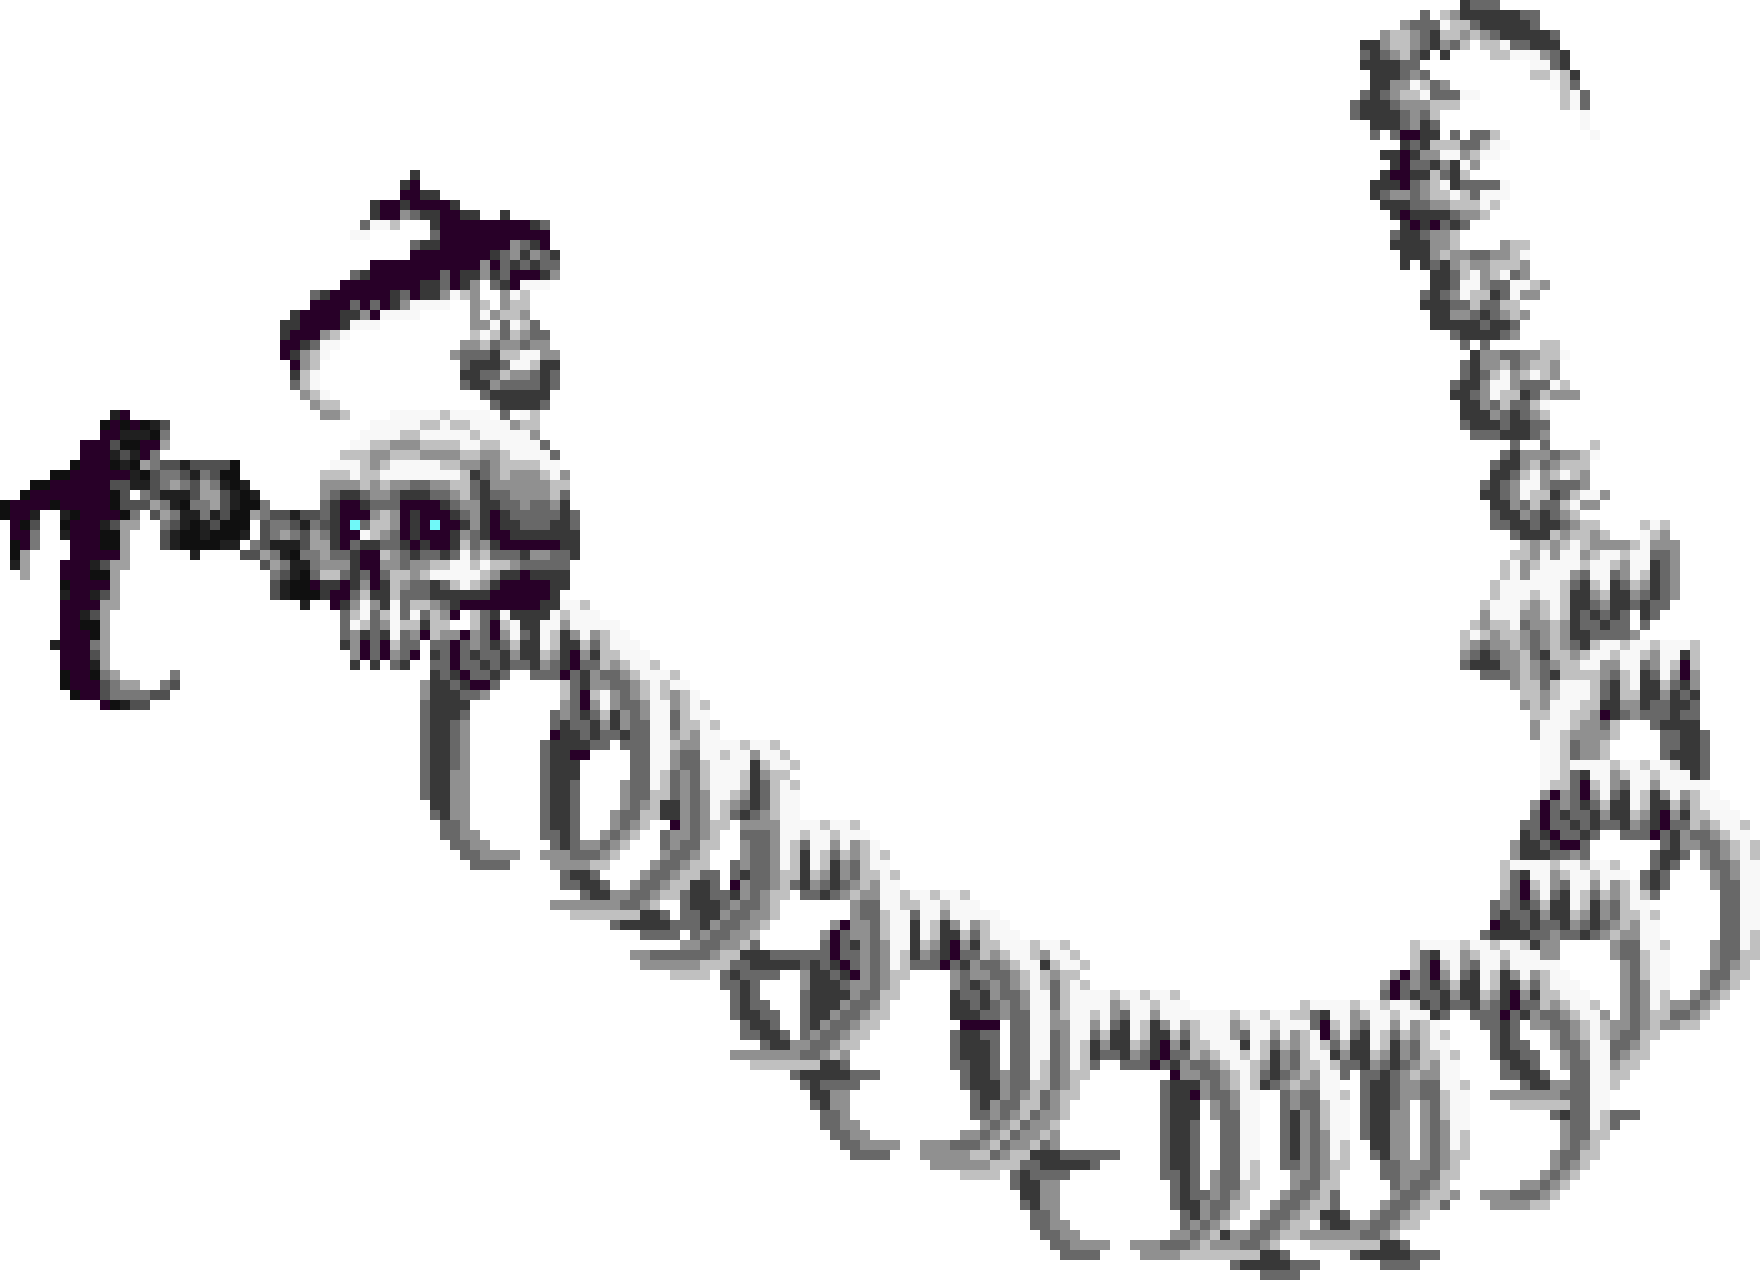
Death awaits and attacks Juste Belmont in the underground of the Castle. He has two forms: the first is the traditional purple-cloaked Grim Reaper, trying to slice Juste with his Scythe and summoning sickles, and a second form who looks like a gigantic skeleton worm with two armored arms.
|
|
| No.
|
Name
|
JPN
|
Lv.
|
HP
|
| 87
|
Death
|
デス
|
48
|
3,920
|
| Tolerance
|
Weakness
|
Common Drop
|
Rare Drop
|
EXP
|
| -
|
-
|
-
|
-
|
4,227
|
|
| Location (Castle A)
|
Location (Castle B)
|
|
|
|
|
|
|
| No.
|
Name
|
JPN
|
Lv.
|
HP
|
| 88
|
Death [Second Form]
|
デス
|
49
|
2,800
|
| Tolerance
|
Weakness
|
Common Drop
|
Rare Drop
|
EXP
|
| -
|
-
|
-
|
-
|
4,406
|
|
| Location (Castle A)
|
Location (Castle B)
|
|
|
|
|
Death appears in the Clock Tower as the game's 6th boss. This battle, much like many other battles against Death, comes in two phases.
Phase one is where his body is invisible, but the floating scythe can be destroyed. He has 3 main attacks in this form. The first is that small floating scythes fly around the room, making the battle annoying if you're hit by one of them. This is also the same power you get when you obtain his soul. The second attack is that the scythe starts spinning towards you, meaning you have to get away from it in order to be able to attack it again. The third is where he summons beams of light to rain down on you. This attack is only used when the health on the scythe drops to half. When the scythe is destroyed, phase two begins.
Phase two is a little different. His body becomes visible now, and able to hit. But the twist is that he summons a double headed scythe made out of bones, making him become more melee oriented. Avoid the attacks at all costs, because you WILL take a lot of damage if you take one hit. His first attack is where he goes down to where you're standing and rushes at you. This attack can be easily jumped over, but watch out when he starts going backwards to try and hit you from behind. The second attack is where he starts spinning the scythe and throws it like a boomerang. This attack can be easily ducked under, but don't duck underneath Death, because this attack will hit you if that happens. The third attack is where the scythe rolls around the Clock Tower arena like a rapidly spinning wheel. This can be easily jumped over as well, but if you're hit, you'll take more damage than any other attack he throws at you.
Upon defeat, Death will be sucked into a wormhole and give up his soul. However, he will drop the scythe, and you will take a lot of damage if you are hit by it. You win two souls upon his defeat. The first is the Skula Enhancement Soul, which allows you to walk underwater. The second is the Death Guardian Soul, which mirrors the sickle summoning attack from the 1st phase of the battle as long as it's active.
|
|
| No.
|
Name
|
JPN
|
HP
|
MP
|
EXP
|
| 108
|
Death
|
デス
|
4,444
|
4,444
|
4,444
|
| Attack
|
Defense
|
Tolerance
|
Weakness
|
Time Stop
|
| 50
|
20
|
Dark
|
-
|
Unaffected
|
|
| Description
|
"Dracula's confidant."
|
|
Death appears as the one who took Walter's soul, ordered by Mathias who would use it to become a powerful vampire lord himself using the Crimson Stone. This stone also allows Mathias to command Death who agrees to take care of Leon after his "Master" departs, for dawn was coming and would not allow Mathias to finish his old friend himself. This is the first canonical incarnation of Death and so far is the only instance in the series that he served as a final boss.
|
|
| No.
|
Name
|
JPN
|
HP
|
| 81
|
Death
|
デス
|
4,444
|
|
| Description
|
"A being that hunts souls. Loyal to the master of the Crimson Stone."
|
|
Death appears in this game in the Mine of Judgment as the game's 13th boss. Like in the previous game, Aria of Sorrow, this fight has two stages to it. However, unlike the Aria of Sorrow fight, Death changes his appearance and tactics in the 2nd phase of the fight instead of just changing weapons. He also has attacks where he gets rid of the scythe for other tactical attacks in both phases of the fight, but he can summon up the scythe again whenever he wants to.
The first phase of the battle is quite possibly one of the easiest fights, as all of Death's attacks are predictable. Mainly, he has three noteworthy attacks, two that involve the scythe, and one that doesn't. The first is a simple melee rush attack, with two slices from the scythe with it. You can easily backdash away from it, but if you're playing Julius Mode, you can use Alucard's Critical Attack to damage him and avoid the damage from the attack. The second is where he throws out the scythe, which explodes into a circle wave of miniature scythes, all of which can be destroyed. The third attack is where he summons three ghostly clones of himself to shoot beams of light down on you. The attack can be easily avoided by standing between the beams. When you've done enough damage to him, phase 2 begins.
The 2nd phase of the battle not only involved a wardrobe change, but a change in tactics as well. He still has two attacks involving the scythe, and one that doesn't, but his attacks are much more powerful now. The first is where he disappears, reappears behind you, and tries to cut your head off with the scythe. While you can easily jump over this, if you try to attack him, he'll keep attacking at a faster rate until you get hit. The second attack involves getting rid of the scythe again, but instead arcs it all the way across the room, summoning miniature scythes to attack you. The third attack, which is not only the non-scythe attack for this phase, but is also arguably the most powerful one. He shoots out beams of energy from both his hands, and they become giant skulls that bite you for almost instant death damage. The best way to avoid the attack is to run in the direction that each skull comes from, and be prepared to switch direction every second. An easier to dodge this attack however is to simply use the Bat Company soul to fly to the ceiling and wait until the 4 skulls have passed by.
Upon defeat, The Abyss area is unlocked, and you get the Death Guardian Soul. It behaves exactly like the soul you get from him in Aria of Sorrow, except the scythes cover much more range. If you decide not to keep this soul, you can turn it into the Death's Scythe weapon as the final Axe Weapon synthesis. Ironically, Death is weak against his own Scythe, even if he is resistant to dark based attacks, the Claim Solais does lower damage than the Scythe.
|
|
| No.
|
Name
|
JPN
|
HP
|
MP
|
ATK
|
| 114
|
Death
|
デス
|
4,444
|
4,444
|
144
|
|
| Description
|
"Dracula's confidant."
|
|
The character known as "Zead" that Hector encounters earlier in the game, is indeed Death in disguise. Zead watches Hector and Isaac's last battle in the Castle and then makes Isaac's corpse disappear. He confronts Hector just after the Isaac battle. His appearance looks a lot like the one he has in Lament of Innocence. Death attacks Hector with his gigantic Scythe, fire attacks, summons sickles and later, after he has his life reduced to a half, he will create a massive explosion. At the end of this "Big Bang" attack, the player have less than one second to steal the Death's Pulse, who allows Hector to forge the powerful Death's Scythe.
|
|
| No.
|
Name
|
JPN
|
HP
|
| 147
|
Death Lv.51
|
デス
|
6,700
|
| Tolerance
|
Weakness
|
| Dark
|
-
|
|
| Description
|
"Dracula's servant. He has sworn eternal loyalty to Dracula and reaps human souls with a giant scythe."
|
|
Death first appears in the Great Stairway. Jonathan Morris and Charlotte Aulin run into him and suspect that he is serving Brauner. He disagrees with that statement and almost makes an alliance with them, although he does not. He is encountered later at the Tower of Death as a boss. He only has two forms, one purple with silver scythes, and one white with red scythes. Purple is weak to magic, and white is weak to physical strength. There is a well-known glitch that traps you in the boss room permanently if you skip any dialogue during the Tower Of Death battle. Aside from his best-known moves such as summoning sickles out of thin air, he will create four portals; chains erupt from within each, interlocking to form a square that contains the spinning scythe when thrown or seizing one of the two characters, ensnaring him or her for Death to deliver a killing blow.
Death murders Brauner after the vampire's defeat, allowing Dracula to be revived. After this, Death is encountered alongside Dracula. Death's principal attack is a great Scythe slash from the top to the bottom of the screen, making him disappear during a few seconds. He also uses dual attacks with Dracula (Scythe explosion, fireballs) and sacrifices his soul to make Dracula transform into True Dracula. During this battle, Death shares Dracula's health.
|
|
| No.
|
Name
|
JPN
|
HP
|
| 145
|
Dracula
|
デス
|
4,444 (first encounter)
6,666 (with Dracula)
|
|
| Description
|
"Dracula's confidant."
|
|
Death fights much like he did in the original Rondo of Blood game.
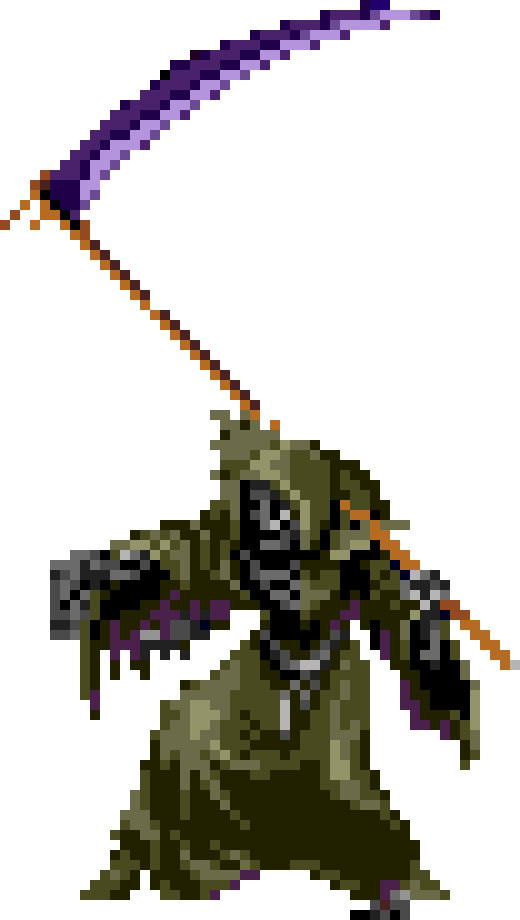
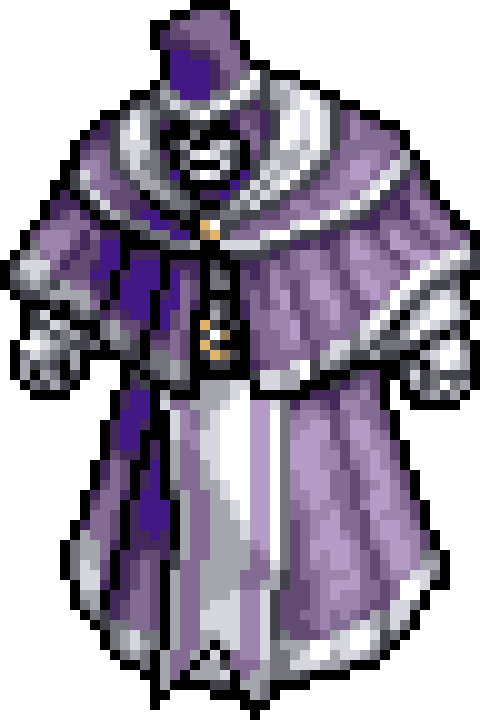
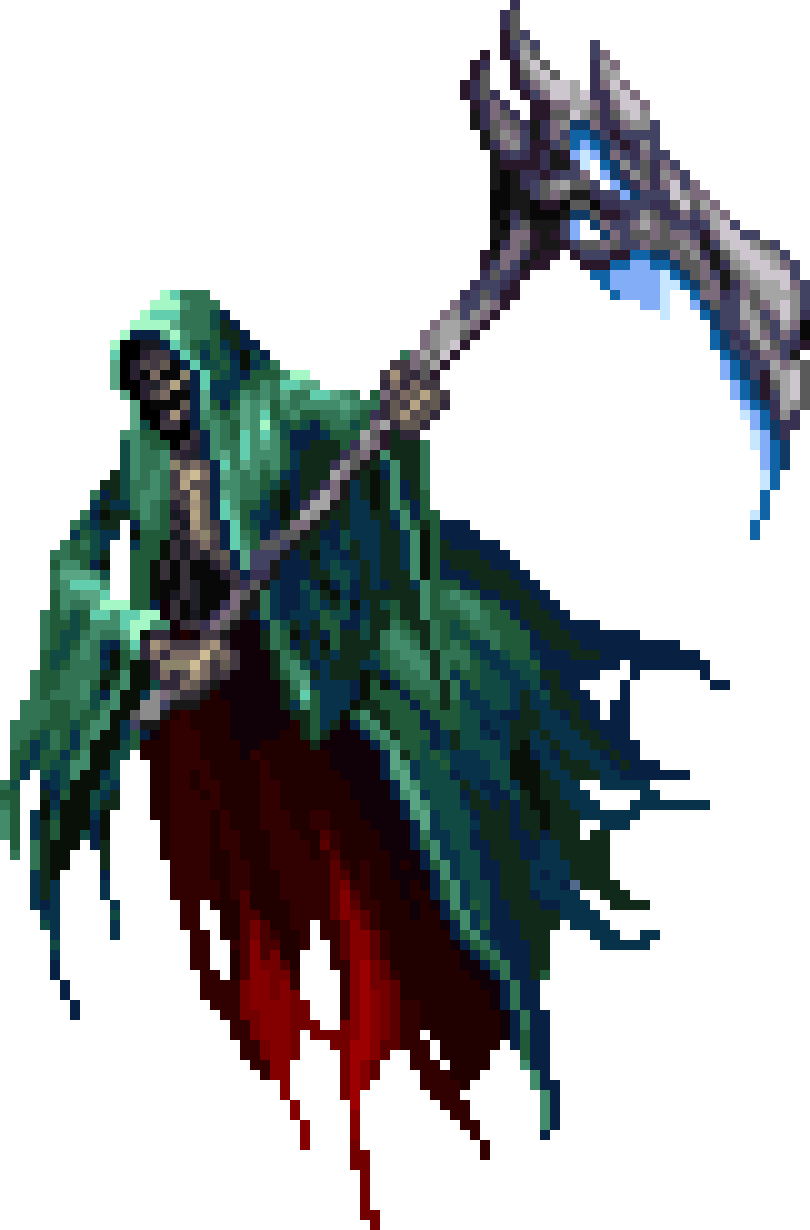
Death appears in a section of Dracula's Castle known as Mechanical Tower "Styx Passage" as the game's 13th boss. He wears a green cloak, much like in Castlevania Chronicles or in his second form in Dracula X or Rondo of Blood. He is strong against physical attacks, so equip any items that will increase your intellect & enhance light damage, & also the Nitesco glyph. This battle will be hard, as he will constantly be summoning miniature scythes that track you. Moreover, Death has 130 ATK, so the damage he will inflict to Shanoa will be severe. One of his attacks also consists of summoning miniature scythes from his hand, which can be easily destroyed. He will rarely use his scythe, which is odd for a battle involving Death. The reward for defeating him is the Sinestro Custos glyph. Defeating Death without taking damage rewards the player with a medal.
|
|
| No.
|
Name
|
JPN
|
HP
|
ATK
|
| 120
|
Death
|
デス
|
4,444
|
130
|
|
| Description
|
"Dracula's confidant. Knows dark secrets hidden from all others."
|
|
Death is the first boss found in the first person fighter arcade game. He fights near the entrance to the castle.
|
|
| Description
|
| "His very appearance strikes terror in the heart of people as a symbol of death. All the living creatures forfeit their lives when he brings his blade down on their bodies."
|
|
|
He is fought again later in the Clock Tower as the second-to-last boss, before Dracula. However, he looks completely different in his second battle, resembling his Judgment appearance.
| File:Arcade Death Boss.JPG
|
| Description
|
| "He is Death. Death portrays fear. That is to say, he is the absolute presence, the awe, the religion and the dark god. Of course, those who oppose a god never survive."
|
|
|
Death is the boss of the fifth level. At the beginning of the battle, Death does not use a scythe, and instead summons his mini-scythes. He can also duplicate himself, and the two Deaths will hurl the mini-scythes from the sides of the room (the duplicate dies in one hit). He can also use a fragile crystal scythe, and slide it across the ground.
After his health is reduced by 1/2, he will use his own, massive scythe. He can swipe with the scythe. The warning for this attack is when he pulls his scythe back, and a red line where his attack will occur will appear. He can also summon three scythe blades that will circle around him for a short time while he moves around. After this, he will summon homing skulls that can be destroyed. He will repeat the pattern after the skull summon, until defeated.
Death appears as an opponent in story mode of Castlevania Puzzle: Encore of the Night. He also is available as a playable character in Arcade Mode.
|
|
| Name
|
Title
|
HP
|
EXP
|
| Death
|
-
|
3,200
|
+ 1 level
|
|
| List of Spells
|
| Skill
|
Cost
|
Effect
|
| Sickle - Does 4 damage times the height of blocks on the player's board.
|
-
|
-
|
| -
|
-
|
-
|
|
Death takes the form he used in Order of Ecclesia. He will follow the player around throughout the level, transparent, and shoot showers of scythes until confronted in his sanctum or dealt enough damage to shoo him off. When fought, he fights similarly to his Order of Ecclesia incarnation as well. His theme is Symphony of Battle, making him the only boss in the game not to have a theme they have been fought with before.
|
|
| No.
|
Name
|
JPN
|
HP
|
MP
|
| 50
|
Death
|
デス
|
-
|
-
|
|
| Description
|
"Dracula's confidant."
|
|
Death reappears in Origins, in his original Castlevania form. He functions as he did in the original Castlevania, as a mini-boss that must be killed to progress. He drops Death's Robe.
|
|
| No.
|
Name
|
JPN
|
HP
|
MP
|
| 81
|
R. Grim Reaper (Retro Grim Reaper)
|
L.死神 (Legends Death)
|
-
|
-
|
|
| Description
|
"Dracula's confidant."
|
|


