| Line 26: | Line 26: | ||
==Boss battle== |
==Boss battle== |
||
| − | Dracula behaves the same as he did in the original game - teleporting around the room and shooting off fireballs in sets of three, which can be destroyed. The fireball power-up found in the room before will allow [[Christopher Belmont|Christopher]] to keep his distance from Dracula for a limited time, but after it runs out, Christopher will be required to stay near him (without use of sub-weapons, at least) in order to deal damage. There are many ways to negate his fireball attack, but one of the most effective (but risky) is the "whip shield" - to crouch, keep Christopher's back to Dracula and swing before the fireballs make contact - the wind-up for the attack should destroy both the middle and lower fireballs behind Christopher and allow Christopher to avoid taking damage, though this requires precise timing. This allows Christopher to stay close to Dracula, and with good timing, he can damage Dracula once before he releases his fireballs and once after, allowing Christopher to hit him twice before he teleports and ending the battle far quicker. Regardless, Dracula's first form is predictable, having only one attack, making this a low-risk battle, though it can tend to be long and tedious. |
+ | Dracula behaves the same as he did in the original game - teleporting around the room and shooting off fireballs in sets of three, which can be destroyed. The fireball power-up found in the room before will allow [[Christopher Belmont (ReBirth)|Christopher]] to keep his distance from Dracula for a limited time, but after it runs out, Christopher will be required to stay near him (without use of sub-weapons, at least) in order to deal damage. There are many ways to negate his fireball attack, but one of the most effective (but risky) is the "whip shield" - to crouch, keep Christopher's back to Dracula and swing before the fireballs make contact - the wind-up for the attack should destroy both the middle and lower fireballs behind Christopher and allow Christopher to avoid taking damage, though this requires precise timing. This allows Christopher to stay close to Dracula, and with good timing, he can damage Dracula once before he releases his fireballs and once after, allowing Christopher to hit him twice before he teleports and ending the battle far quicker. Regardless, Dracula's first form is predictable, having only one attack, making this a low-risk battle, though it can tend to be long and tedious. |
{{Enemy Stats/Adventure ReBirth |
{{Enemy Stats/Adventure ReBirth |
||
Revision as of 08:57, 20 October 2019
- For other uses, see Dracula (disambiguation).
Dracula (ドラキュラ Durakyura?) is the main antagonist and final boss in Castlevania: The Adventure ReBirth.
Character's history
In 1576, Count Dracula was resurrected a century after his demise due to fear of him dissipating, and brought his castle with him to scourge Transylvania with his evil. A descendant of the Belmont clan who frequently defeated him, Christopher Belmont went to his castle to slay him once again. Dracula ultimately encountered Christopher at the Castle's Keep, and after identifying him as the ally of "worthless humans" as usual, assumed various forms before ultimately being put to rest yet again.
Boss battle
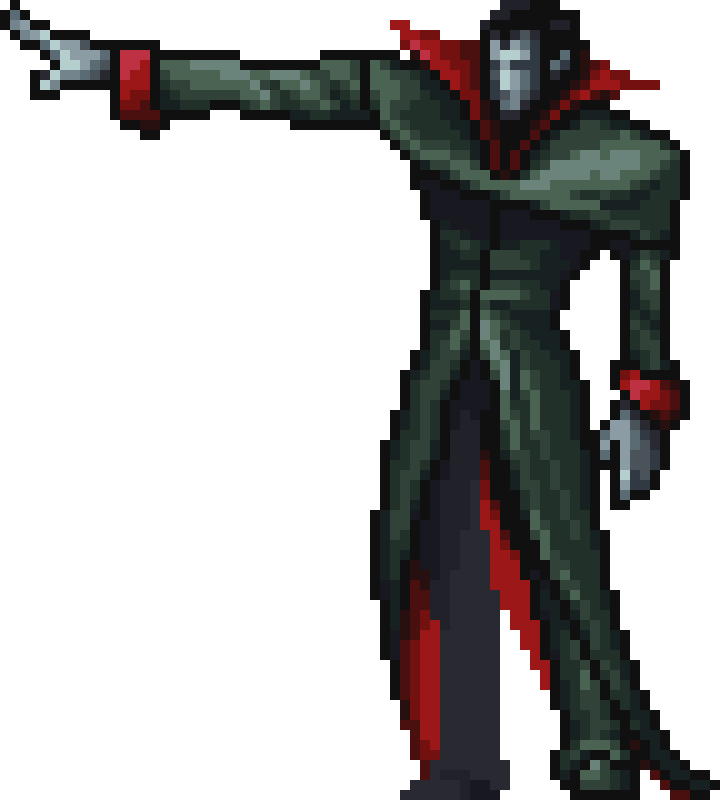
Dracula behaves the same as he did in the original game - teleporting around the room and shooting off fireballs in sets of three, which can be destroyed. The fireball power-up found in the room before will allow Christopher to keep his distance from Dracula for a limited time, but after it runs out, Christopher will be required to stay near him (without use of sub-weapons, at least) in order to deal damage. There are many ways to negate his fireball attack, but one of the most effective (but risky) is the "whip shield" - to crouch, keep Christopher's back to Dracula and swing before the fireballs make contact - the wind-up for the attack should destroy both the middle and lower fireballs behind Christopher and allow Christopher to avoid taking damage, though this requires precise timing. This allows Christopher to stay close to Dracula, and with good timing, he can damage Dracula once before he releases his fireballs and once after, allowing Christopher to hit him twice before he teleports and ending the battle far quicker. Regardless, Dracula's first form is predictable, having only one attack, making this a low-risk battle, though it can tend to be long and tedious.
|
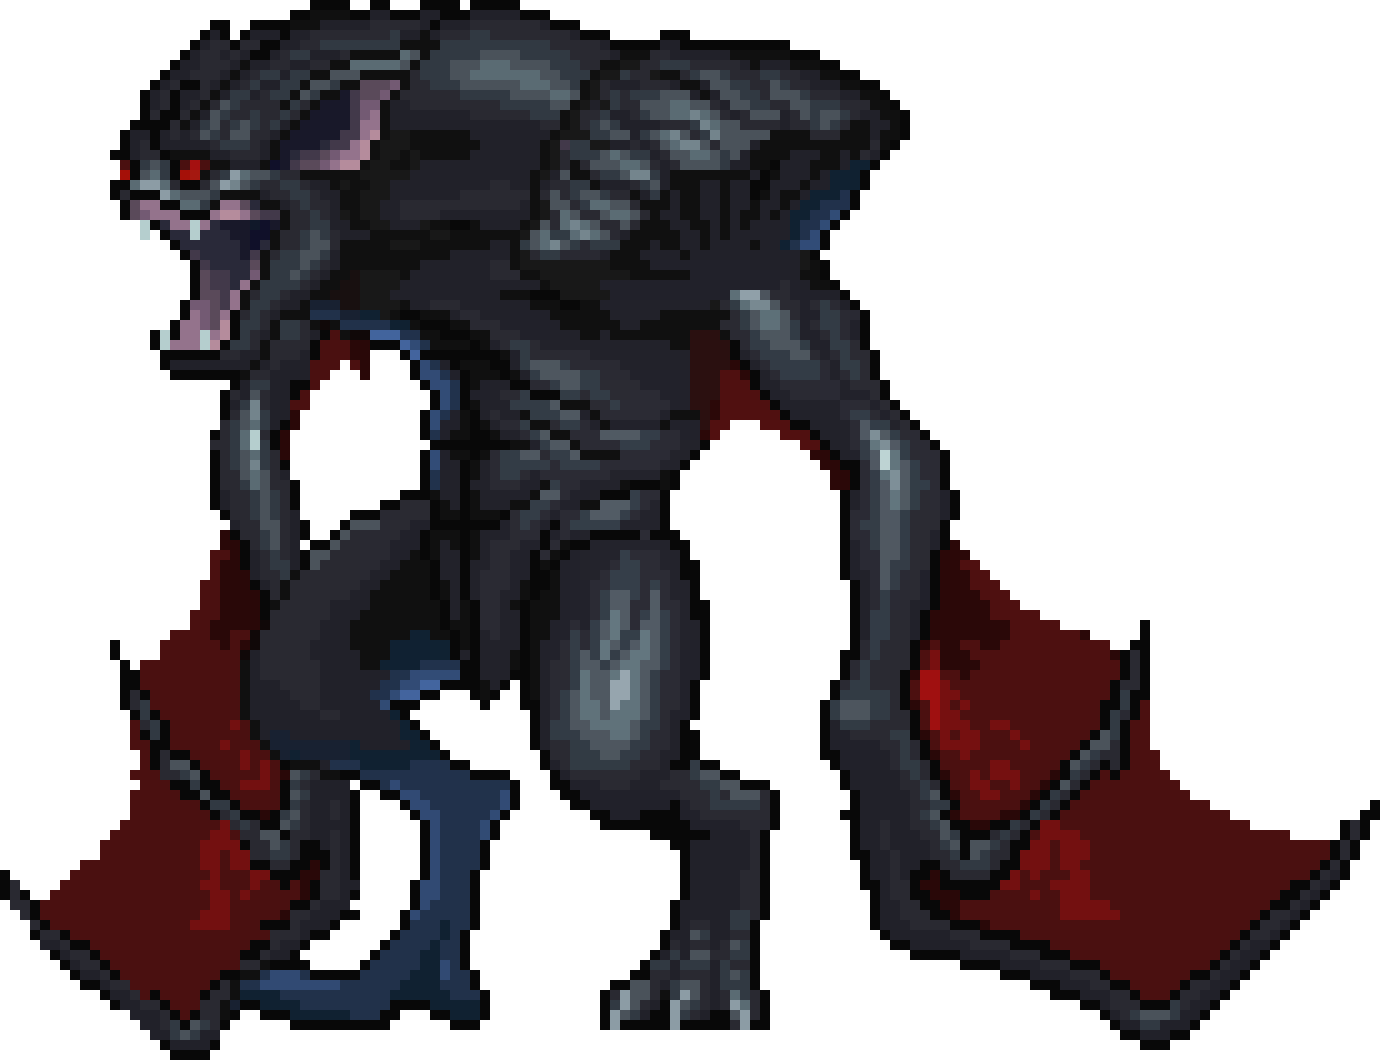
Dracula's second form acts nearly identical to that of the original Castlevania and Rondo of Blood, though it sports a new appearance. Dracula can still only be damaged when hit in the head. He retains his pattern from Rondo of Blood - jumping whilst releasing poison rain from his wings, and using a fireball attack after every third jump. During every jump, he will drop down four bolts of poison rain which curve diagonally downwards either left or right - whichever direction they curve seems to be random, which can make dodging them slightly unpredictable. He can be hit easily between every jump, and his fireball attack can be dodged by staying in between Dracula and the fireballs.
|
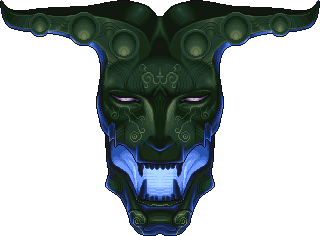
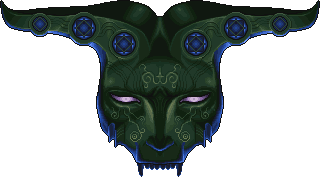
Dracula's third form is a massive demon head that constantly casts spells. He begins the battle with his lower jaw fully intact, and, with it being the only part of Dracula that drops low enough that it can be attacked, his jaw will be the main target. His jaw will drop down low enough to be attacked immediately as he initiates his first attack and remain low enough to be damaged for the rest of this part of the battle, allowing Christopher to attack it constantly. During this phase, he only has two attacks, both of which are signaled by the appearance of glyphs - if several glyphs appear near the top of the screen, lightning will drop down from every glyph. If several glyphs appear near the bottom, however, each glyph will burst into flames. Both of these can only be avoided in the same manner - standing beneath or on the spot (depending on the attack) where no glyph is present, thereby dodging any of the lightning or flames. After 7 hits, Dracula's jaw will drop off and the next phase of the battle will initiate.
After Dracula's jaw drops off, his head will lower slightly, revealing the several glyphs at the top of the room. Dracula attacks primarily from these glyphs. The only part of his body that can be damaged in this stage of the battle are his eyes, but they are too high to be damaged through any regular means - the axe is the only sub-weapon that can reach high enough to damage his eyes. Otherwise, players must attack the reachable portion of Dracula's head continuously, until one of the two platforms at the sides of the room raises, allowing Christopher to jump on top of them and properly attack Dracula's eyes. While this is happening, Dracula will constantly attack Christopher through a variety of means - from the top glyphs, he will release several homing bubbles, which can be destroyed in one hit, and alongside them, two homing electricity spheres, which each take two hits to destroy. From the glyphs, he can also spawn Rolling Eyes, and he can drop down fireballs which explode horizontally. He can also summon several glyphs which spread out into a circle near the top of the room - each of these glyphs will release lightning in the direction they are pointing, forcing Christopher to find a safe spot. Finally, as his rarest attack, Dracula can spawn several glyphs which form a "wave" of sorts in the middle of the room - each of these will explode into flames, and yet again, Christopher must stay away from the glyphs to avoid taking damage. During all of this, Dracula will also take less damage as his health lowers, to the point that it will eventually take several hits to reduce a sliver of his health.
- Note: The third form will not be confronted if the player is playing in Easy mode.
|